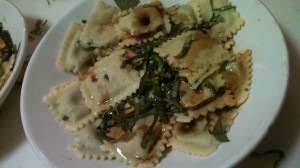
 Ho Ho Ho Merry Hanu-Kwansa-mas!!
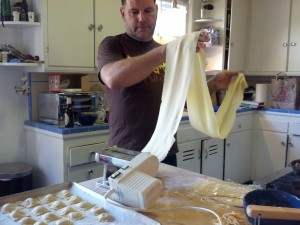
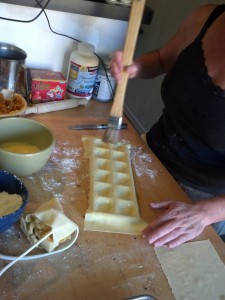
I could not wait. Nope, I just could not do it. I bought myself a Christmas present early. I know, I know. You are never supposed to buy yourself a present right before the holidays. But I just could not help myself. Want to hear what I got? I got a ravioli attachment for my little Atlas pasta machine. Man, it’s the coolest. Roll out the pasta, drop it into the ravioli maker, spoon in some filling and Volia! Raviolis!!
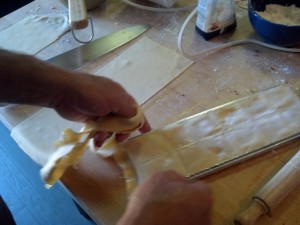
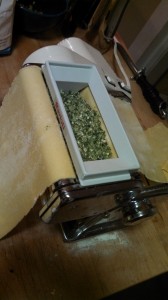 If it were only that simple. I had great fun whipping up the meat filling for those little pillows of goodness but it was definitely a trial and error process for me. The pasta sheets kept ripping and sometimes the raviolis would not fill. But after a few failed attempts I got it down. So will you so don’t get frustrated just keep at it and soon your ravioli will be as good looking as mine.
This time around I used a classic technique that makes for a flavorful and meaty ravioli. I am so excited to share this with you as it is fun technique and it gives the meat a great texture and incorporates the different ingredient flavors completely. What is best about this technique is that you can use it to make raviolis, meatballs, meatloaf, sausage or meat patties. Let me describe it for you.
 First: Put your food processor bowl, lid and blade into the freezer. You want the pieces to be as cold as they can be. Having all of your ingredients super cool will aid their ability to combine.
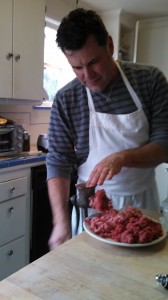
Second: Grind the meat yourself. Please use a meat grinder as this cuts the long muscles of the meat at regular intervals. I used a blend of lamb, chicken, pork and beef. Using a food processor to grind meat only separates the muscles strands and will cut them unevenly giving the final product a lumpy texture.
Third: After all the meat is ground put it into the refrigerator covered or into the freezer for about 15 to 20 minutes so that it becomes very cold.
Fourth: Separate one egg for each pound of meat you will be processing. You will be using the egg whites. Go ahead and cook up the egg yolk for breakfast or save it for your nog!
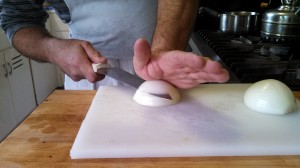 Fifth: Prepare your flavoring ingredients. You will always need a little salt as this helps the proteins bind. I saute’d an onion with some garlic and separately toasted about a tablespoon a fennel seed per pound. Don’t be bashful with any of the ingredients except salt. If it is not enough add more next time or vice versa.
Time to make Force Meat!!
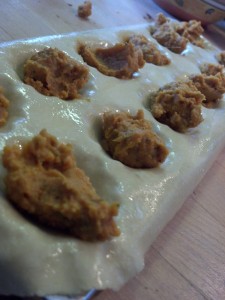
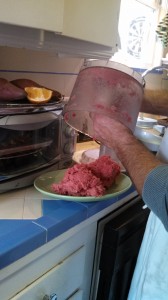 Place up to one pound of meat into the chilled food processor. Add the saute’d onion garlic mixture and a heavy pinch pf salt. Process at high speed for about 15 seconds then add the egg white while processing. Process for another 15 to 30 seconds and Voila! You have force meat.
To test the flavor I put a small pan of water on to boil. When the water begins to simmer, the point just below a boil when little bubbles gently begin to rise, drop a small soon of the meat mixture in to it and let it cook for about 3 minutes. Remove it and cut the piece through to make sure it is done. Give it a taste. If it needs a little pepper go ahead and blend it in for another 15 seconds. If it wants more toasted fennel, repeat the process.
Return the mixture to the refrigerator and let it chill for about 15 minutes before using. Now you can make raviolis or sausage or even Wanton, or Potstickers. This classic technique is so easy and all purpose you are going to blow your friends and family away with it.
I got so excited using my new ravioli maker that I had to whip up something a little extra so I grabbed a Spanikopita recipe off of the InterWeb and used it to fill some left over pasta I had lying around.
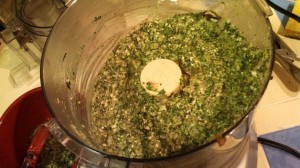 Spinach Filling
2 bunch Spinach, chopped and washed
1 Onion, chopped and saute’d
6 Green Onions, chopped and saute’d
Chop the above ingredients and saute’ them for about 10 minutes.
1 cup Feta Cheese
1/2 cup Ricotta
Salt and pepper to taste
Add the saute’d ingredients and the cheeses to the food processor and blend until all the ingredients are blended. Use to fill pasta or puff pastry as desired.
To see how I make my pasta read my Roly Poly Ravioli!! post. The basic recipe I use is
Pasta Recipe
2 cups Semoilina flour
3 Eggs, large
1 Salt pinch
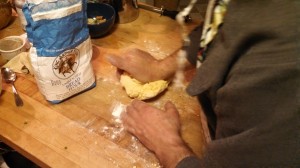 Mix all the ingredients in a bowl and knead together. If the dough doesn’t stick together add one teaspoon of water at a time and mix well until the pasta holds together. Knead on a floured table for about 10 minutes until the dough ball is relatively smooth then let rest for about 15 minutes before using or wrap in plastic and place in the refrigerator or freezer until needed.
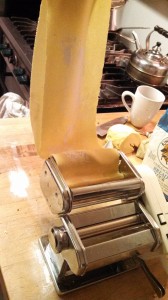
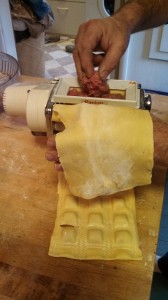
I rolled out the sheets of pasta and popped them in to the magic Atlas pasta maker and dropped in my new favorite meat filling into the hopper and look-out-world . . . Raviolis!!
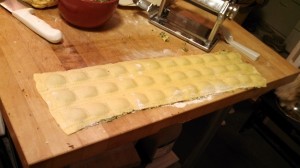
My holiday dinner this season will be cracked crab, chicken ceasar salad, antipasta with the ravioli to finish. I hope that you are looking forward to your holiday meal as much as I am.
Eat Well and Smile Often!!
tj
p.s. I’ll start my diet next year.

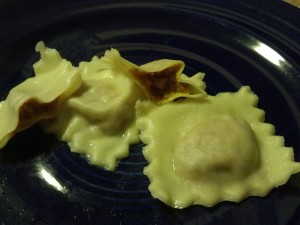 I am not a Master Chef but I am a pretty good cook with plans to open a pizza/bakery/fresh pasta establishment in the near future. To that end, I set to a recipe for homemade ravioli. To maintain a purist bent I went with a seasonal buttternut squash filling. Roasted squash, maple syrup, fresh nutmeg, a touch of cream, salt, pepper and a splash of apple cider vinegar just because. Very tasty indeed.
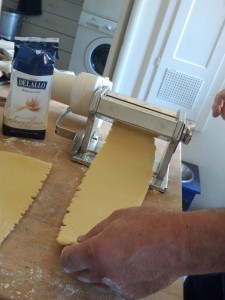
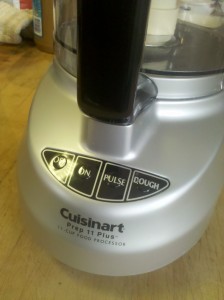 I tried to mix the dough in my new Cuisinart food processor which sports a dough kneading feature. In Cuisinart’s DVD it works great with baguettes and soft doughs but not so much with this pasta recipe. So I took extra time and care running the dough through the pasta rollers, on the widest settings, until I got a smooth elastic sheet to make my raviolis. I would insert the dough into the rollers and collect it as it came out. After folding it into thirds I would would reintroduce the pasta to the rollers (Rollers – Pasta, Pasta – Rollers) at a 90° angle. I spent about half and hour running sheets through the rollers to get the right consistency. Next time I’ll use my mixer with a dough hook.